The 7 Steps Involved in a Shower Installation
Posted on April 09, 2024
Posted in Showers , Tub to Shower
Even the most adventurous home improvement DIYers will stay away from a shower installation, due to the highly complex process and equipment/expertise involved. But some of us still need more convincing.
As a company that has installed thousands of showers for Texas homeowners, we know a thing or two about how time-consuming and involved they can be—especially for those who haven't installed a new shower before.
Here are the steps involved in a shower installation to show you why hiring a home improvement company is the better option.
1. Planning
The first step in any shower installation project is a thorough assessment of the space for measuring and planning. This includes evaluating existing plumbing, electrical connections and structural integrity of the walls. Everything must be compatible with the new shower design and factors like size, layout and features are taken into account.
2. Demolition
The area must then be prepped for the installation by removing any existing fixtures, tiles or enclosures. Demolition must be carried out carefully to avoid damaging surrounding surfaces (a common mishap for DIY shower installers). There must be a clean slate for the new shower.
3. Plumbing/Electrical
Once the space is cleared, rough-in plumbing and electrical work are performed to accommodate the new shower fixtures and accessories. This can involve draining pipes, testing water supply lines and ensuring electrical wiring will be safe with the planned layout and specifications. Importantly, the plumbing and electrical work must also adhere to applicable city and state codes. This ensures your safety and is something that inspectors look for if you ever plan to sell your home.
4. Shower Pan Install
A waterproof base is the foundation of any shower. Also known as the "shower pan," this base requires precise measurements and proper slope to ensure efficient water drainage (and to prevent leaks).
5. Wall Prep
The walls also must be prepped for shower fixtures like faucets, showerheads, handles and more. You must carefully install these components, as they're essential for optimal shower performance and longevity. Precision and expertise are important here to ensure proper alignment and functionality.
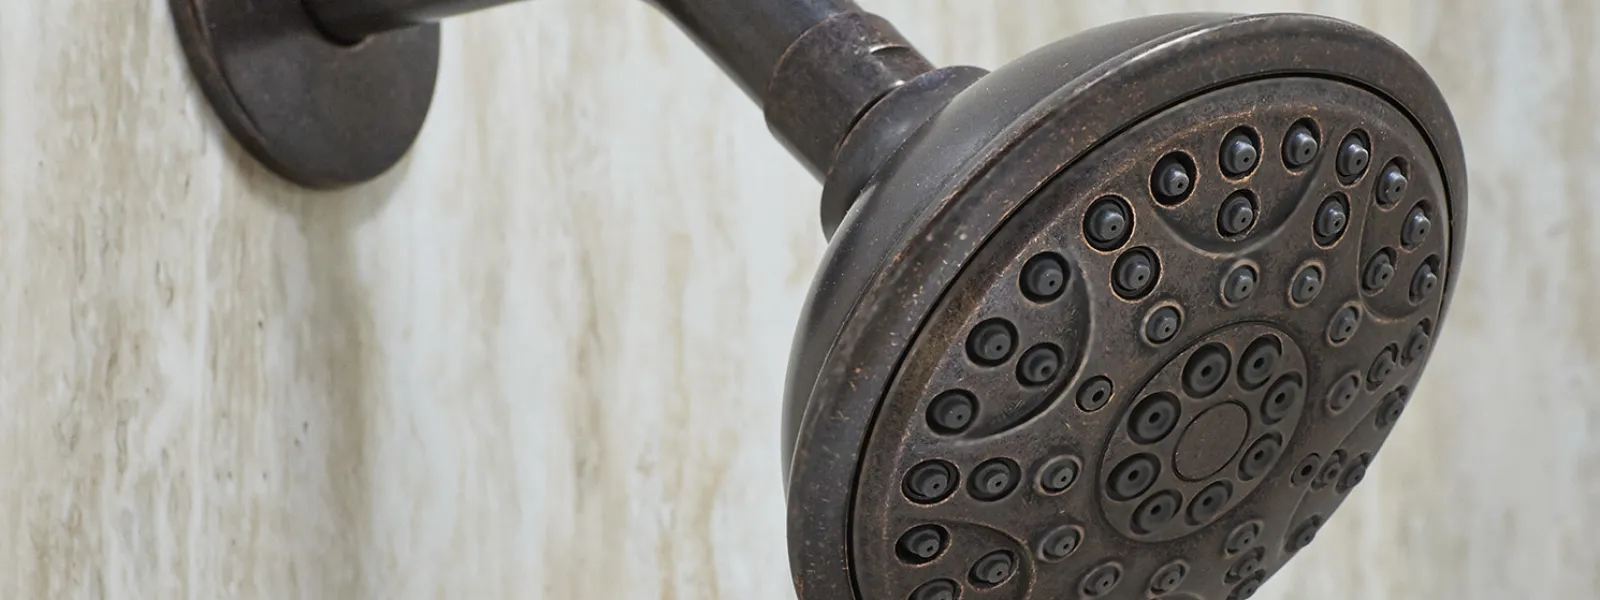
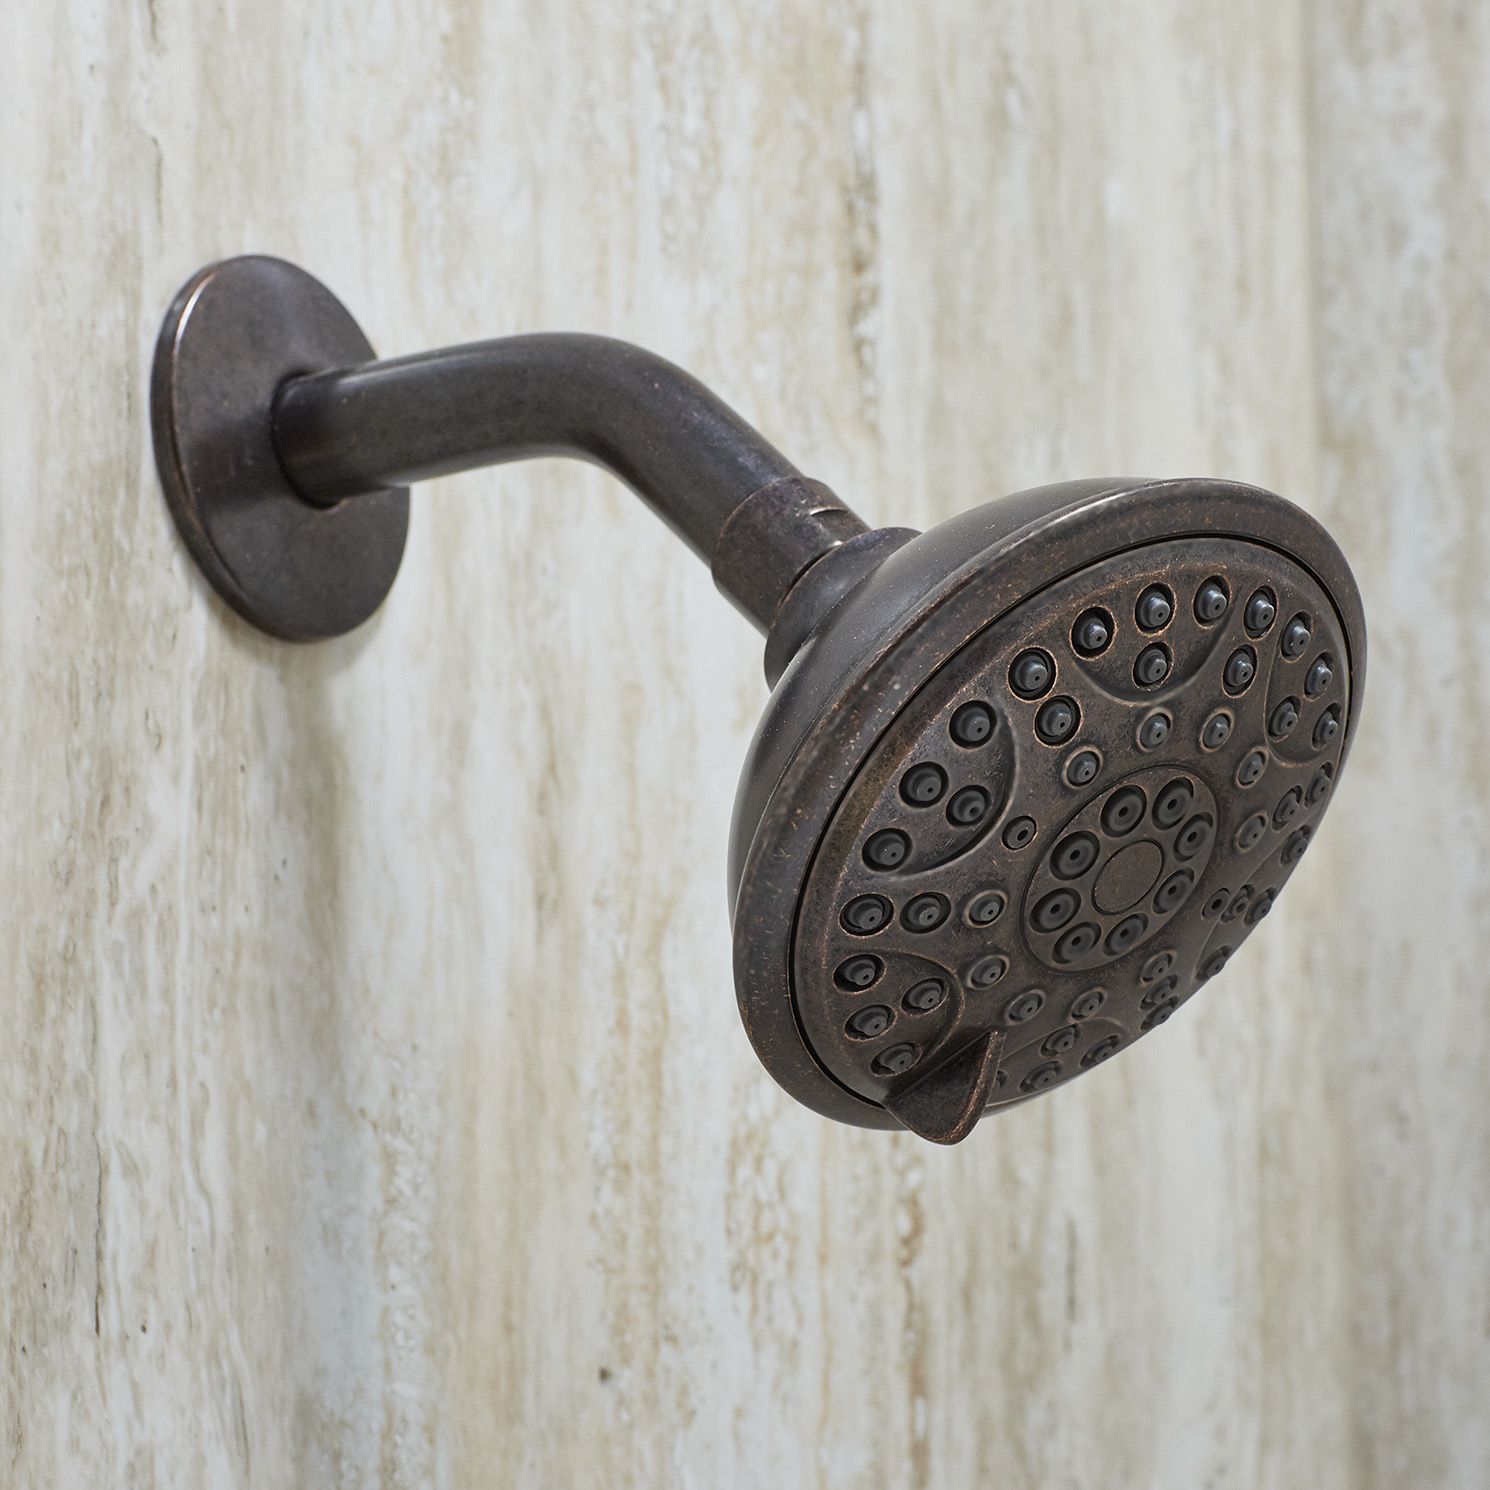
6. Fixture Install
Next, those fixtures mentioned above (faucets, showerheads, handles, etc.) must be installed as well. Attention to detail is crucial and they must be sealed to walls and/or tiles properly to ensure a watertight enclosure.
7. Testing and Final Touches
Lastly, finishing touches like caulking, grouting and sealing must be applied, followed by a thorough inspection and testing. Proper caulking and grouting take expertise to look professional and many DIYers aren't able to achieve this. If all components are functioning correctly—and there are no leaks or other issues—the shower is good to go and ready for use.

This is just a summary of the steps involved in a shower installation. If you'd prefer a professional shower installation instead, contact Expo Home Improvement for a no-obligation quote today.